Once an inbox is connected, two settings decide what Edjobster sees and what it does with it: which folder or label it watches, and whether auto-screen is on.
Go to Connectors → Email and open the mailbox you want to adjust.
2
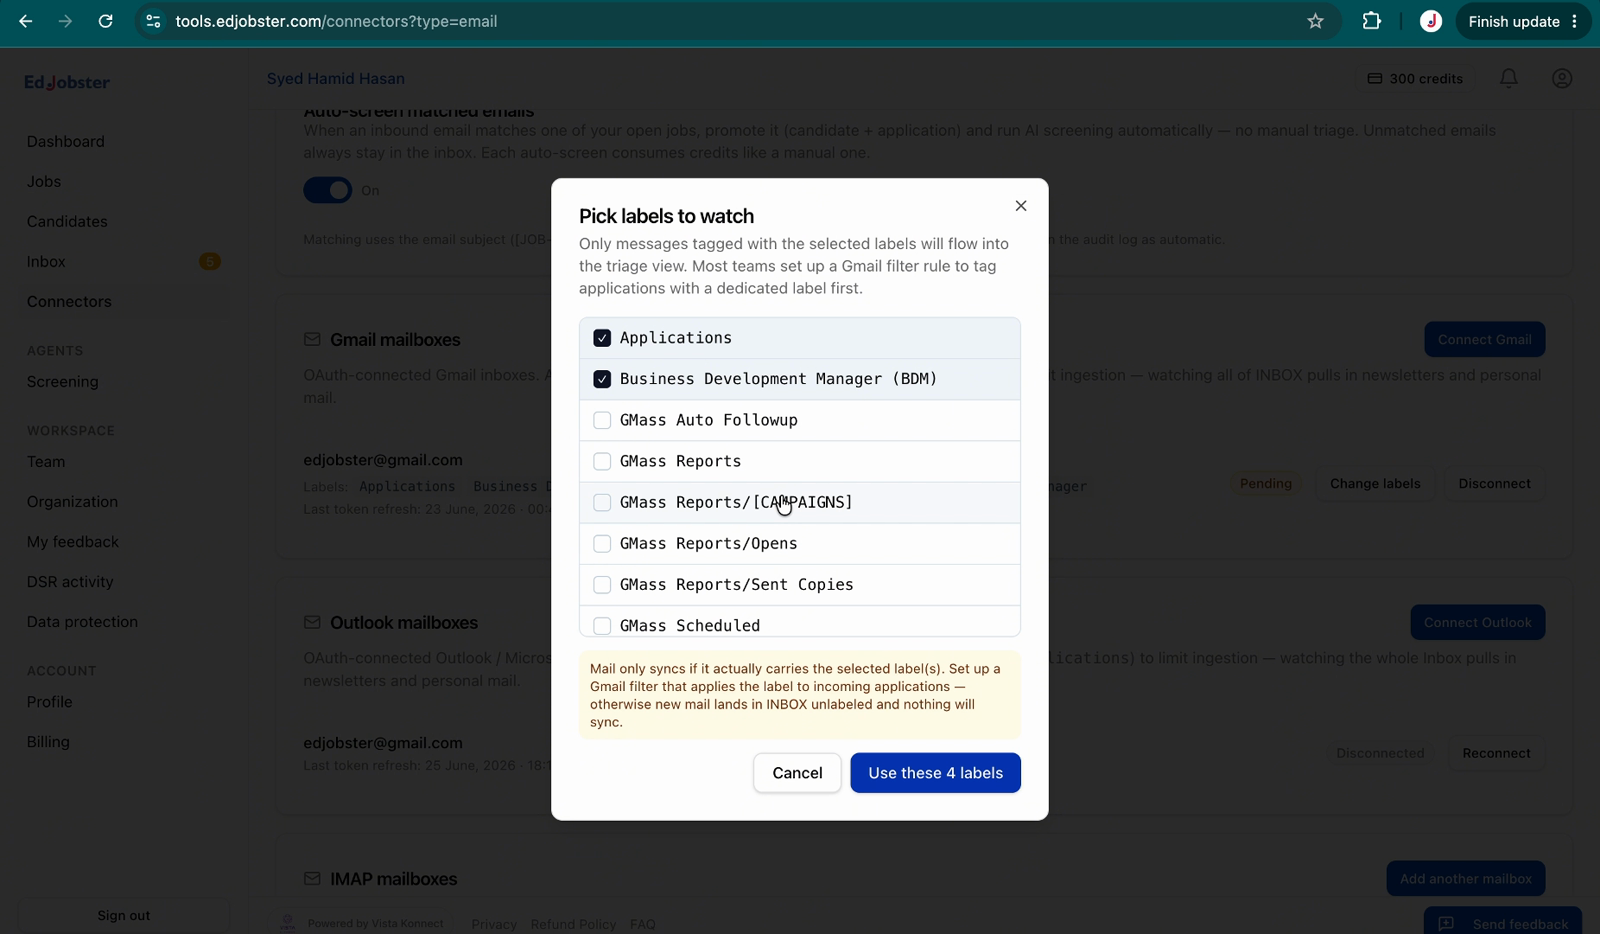
Choose the folder or label to watch
Edjobster reads only the folder or label you set here — a Gmail label, an Outlook folder, or an IMAP folder. Point it at wherever applications actually land.
If applications are mixed in with other mail, set up a rule or filter in your email provider that moves them to a dedicated label or folder first, then watch that.
3
Turn on auto-screen
With auto-screen on, every new application that arrives in the watched folder is screened automatically — no manual step. Leave it off if you'd rather review and screen in batches yourself.
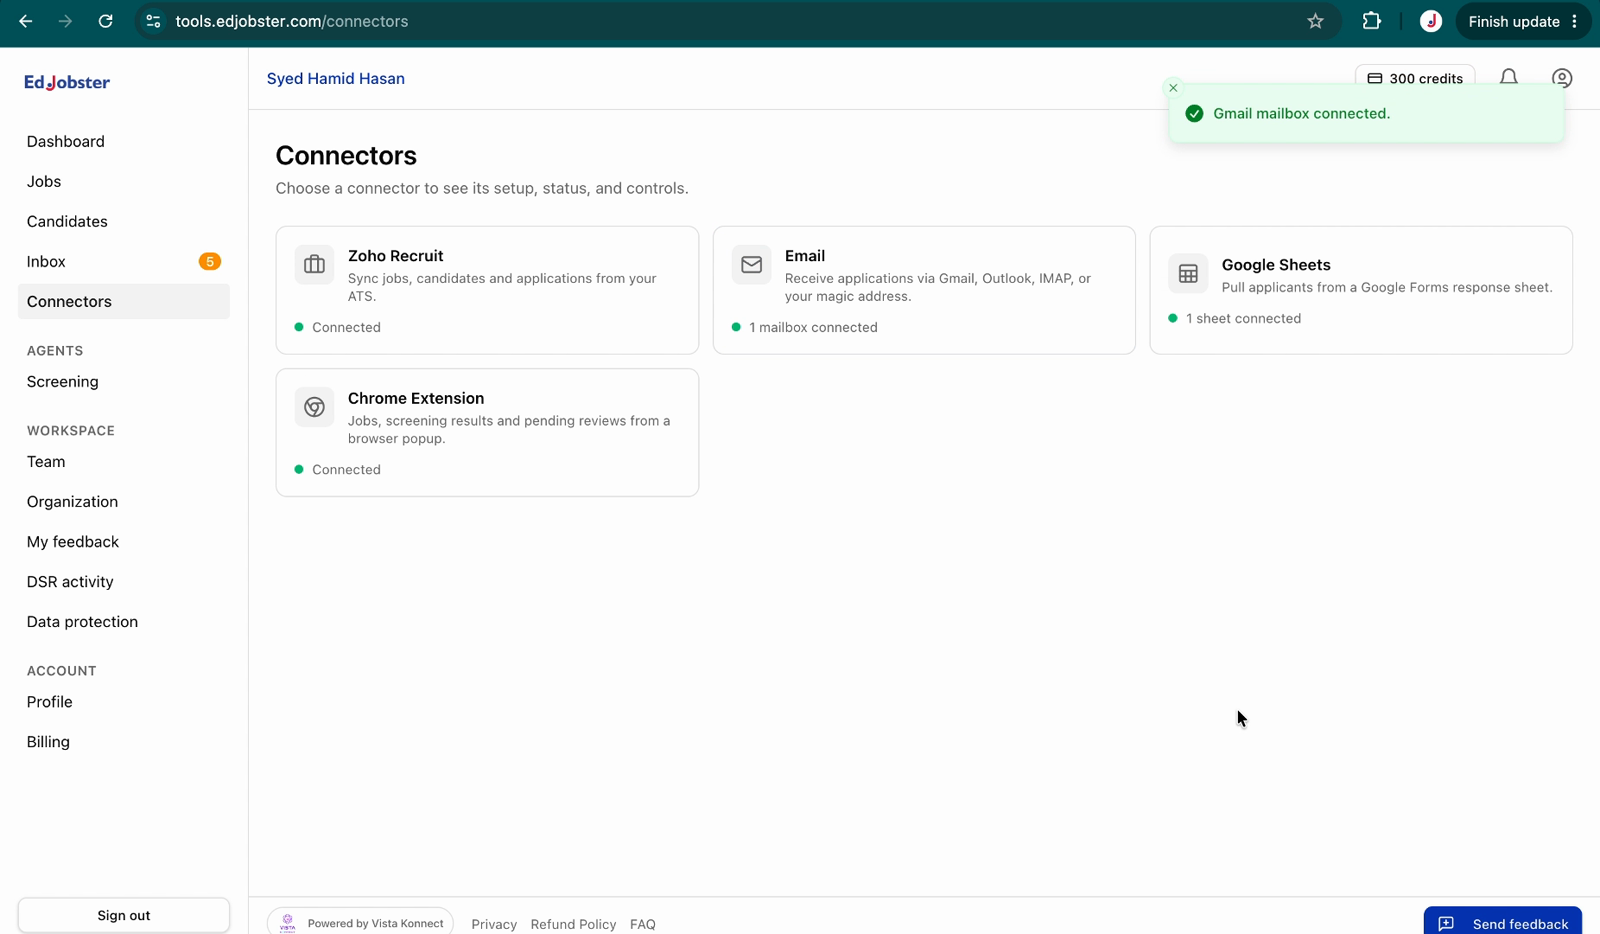
Verify it worked
The mailbox shows the folder or label it's pinned to, and (if you enabled it) auto-screen is on. New applications landing in that folder now appear in Edjobster — and screen themselves when auto-screen is on. Use Sync all to pull immediately.
Troubleshooting
New applications aren't appearing.
Edjobster only reads the one folder or label you set. Confirm applications land there — a filter or rule may be moving them elsewhere — or point Edjobster at the right folder.
Auto-screen is using more credits than expected.
Auto-screen screens every new application in the watched folder, one credit each. If you want tighter control, turn it off and screen in batches from the Screening view.