Edjobster sits alongside the hiring tools you already use and gives you one place to screen and rank applicants. Here's a quick walk through the main areas of the dashboard.
Before you start
You're signed in to the Edjobster dashboard.
Setup steps
1
The left navigation
Everything is reachable from the left menu: Dashboard, Jobs, Candidates, Screening, Connectors, Billing, and Team. Which items you see depends on your plan and your role.
2
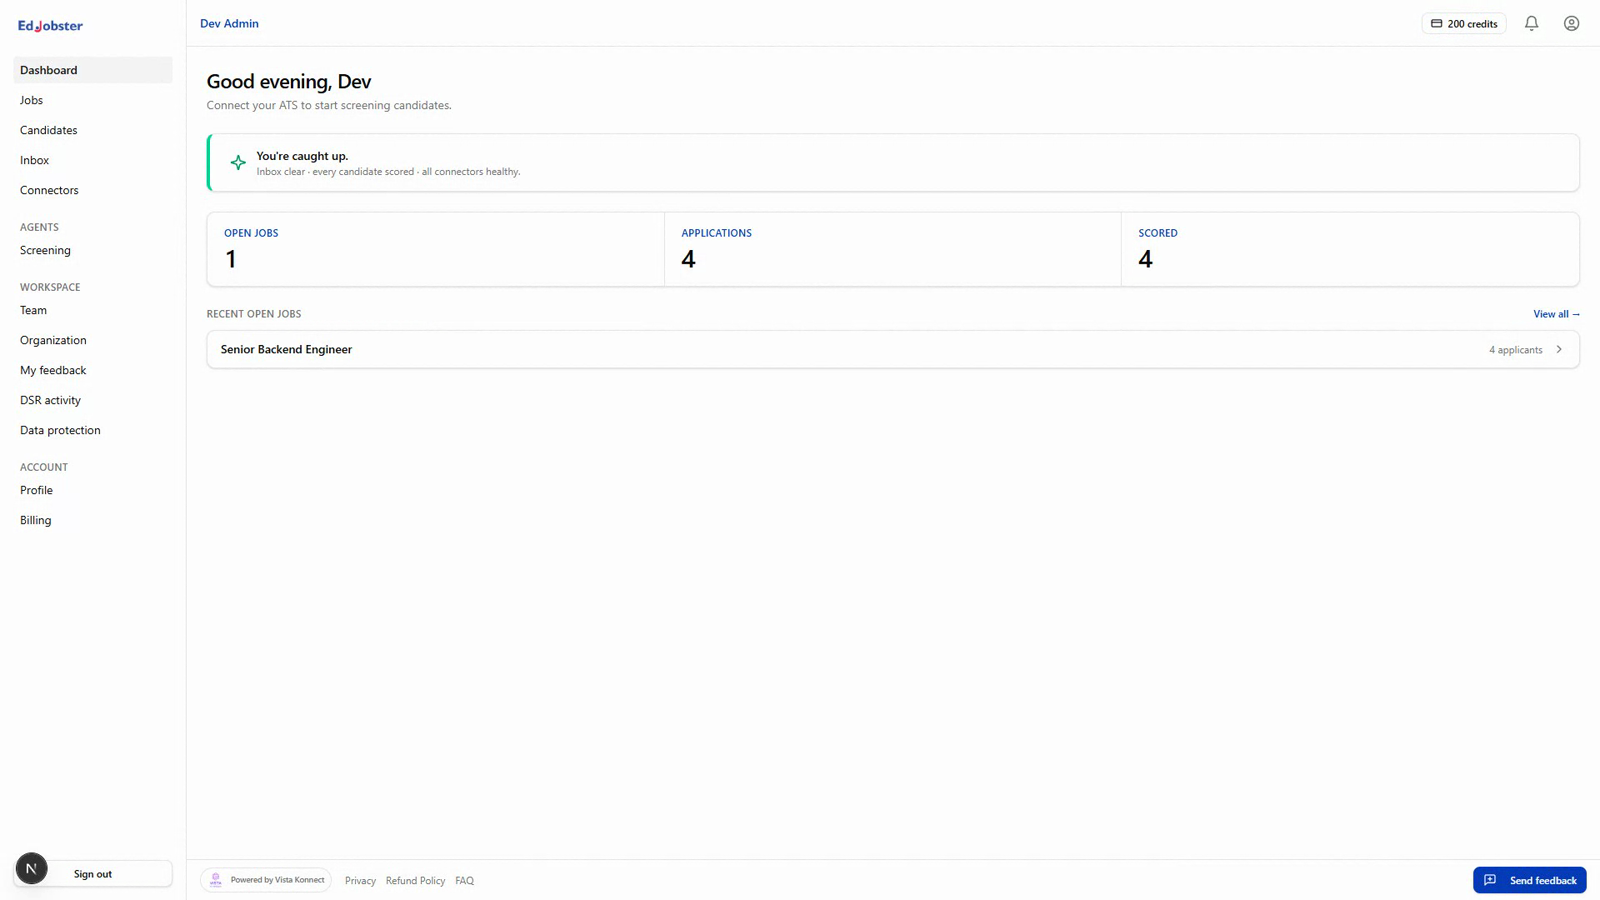
Dashboard at a glance
The home view shows what needs attention — applications waiting to be screened, credits remaining this cycle, and recent activity.
3
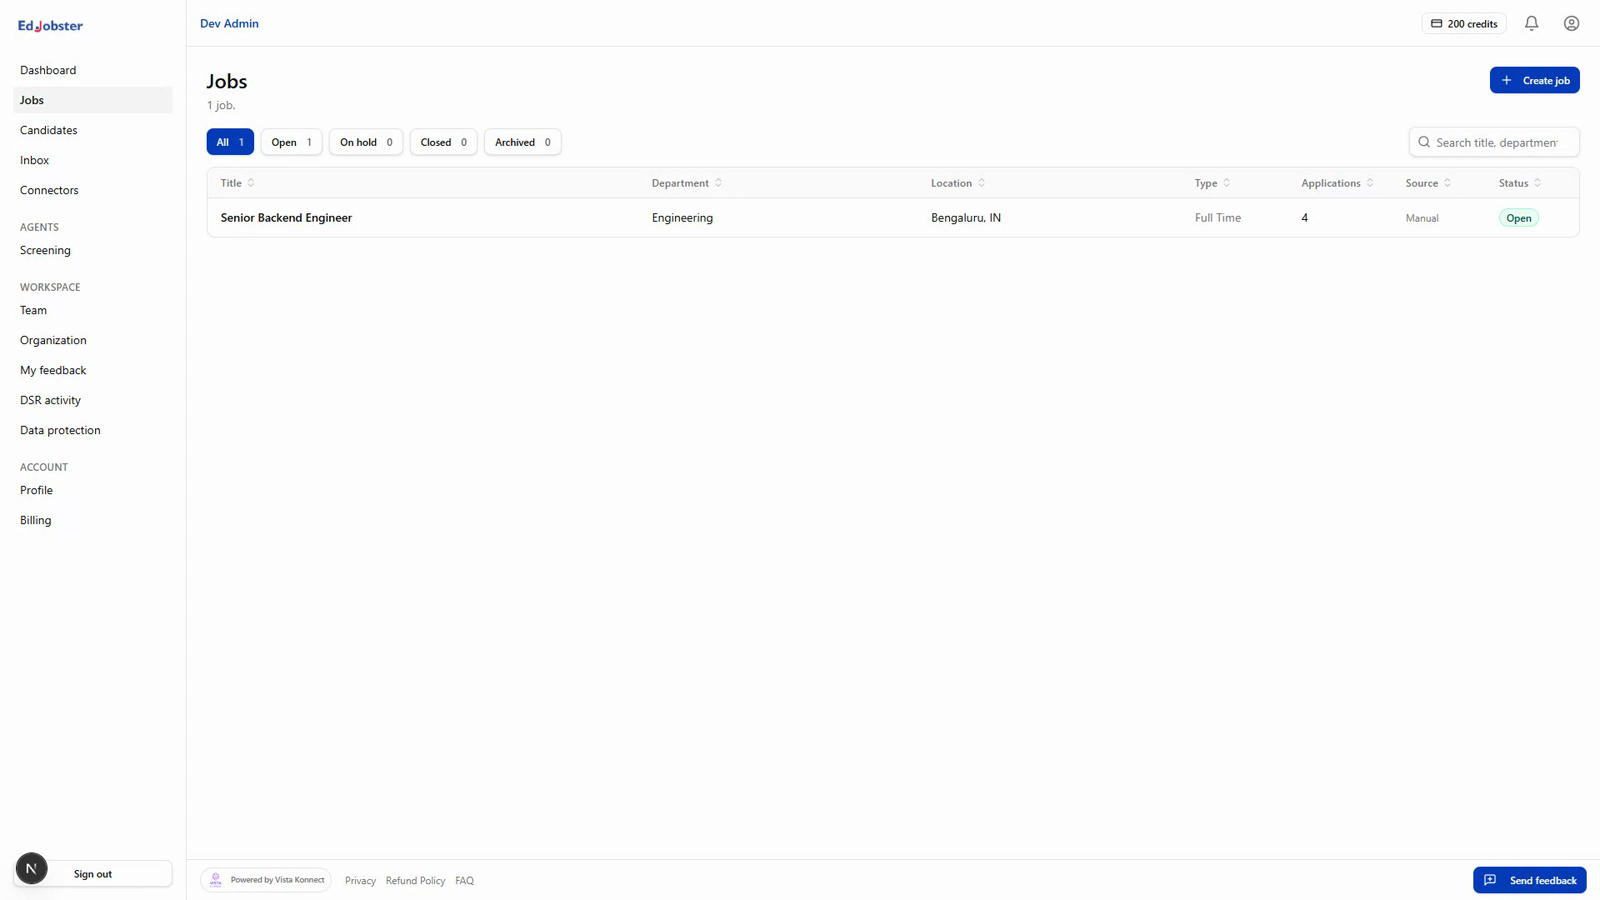
Jobs
Your open roles. Each job carries the screening rubric (the must-have and nice-to-have criteria) used to score its applicants.
4
Candidates
Everyone pulled in from your connectors, searchable and grouped by score band, so your shortlist is one filter away.
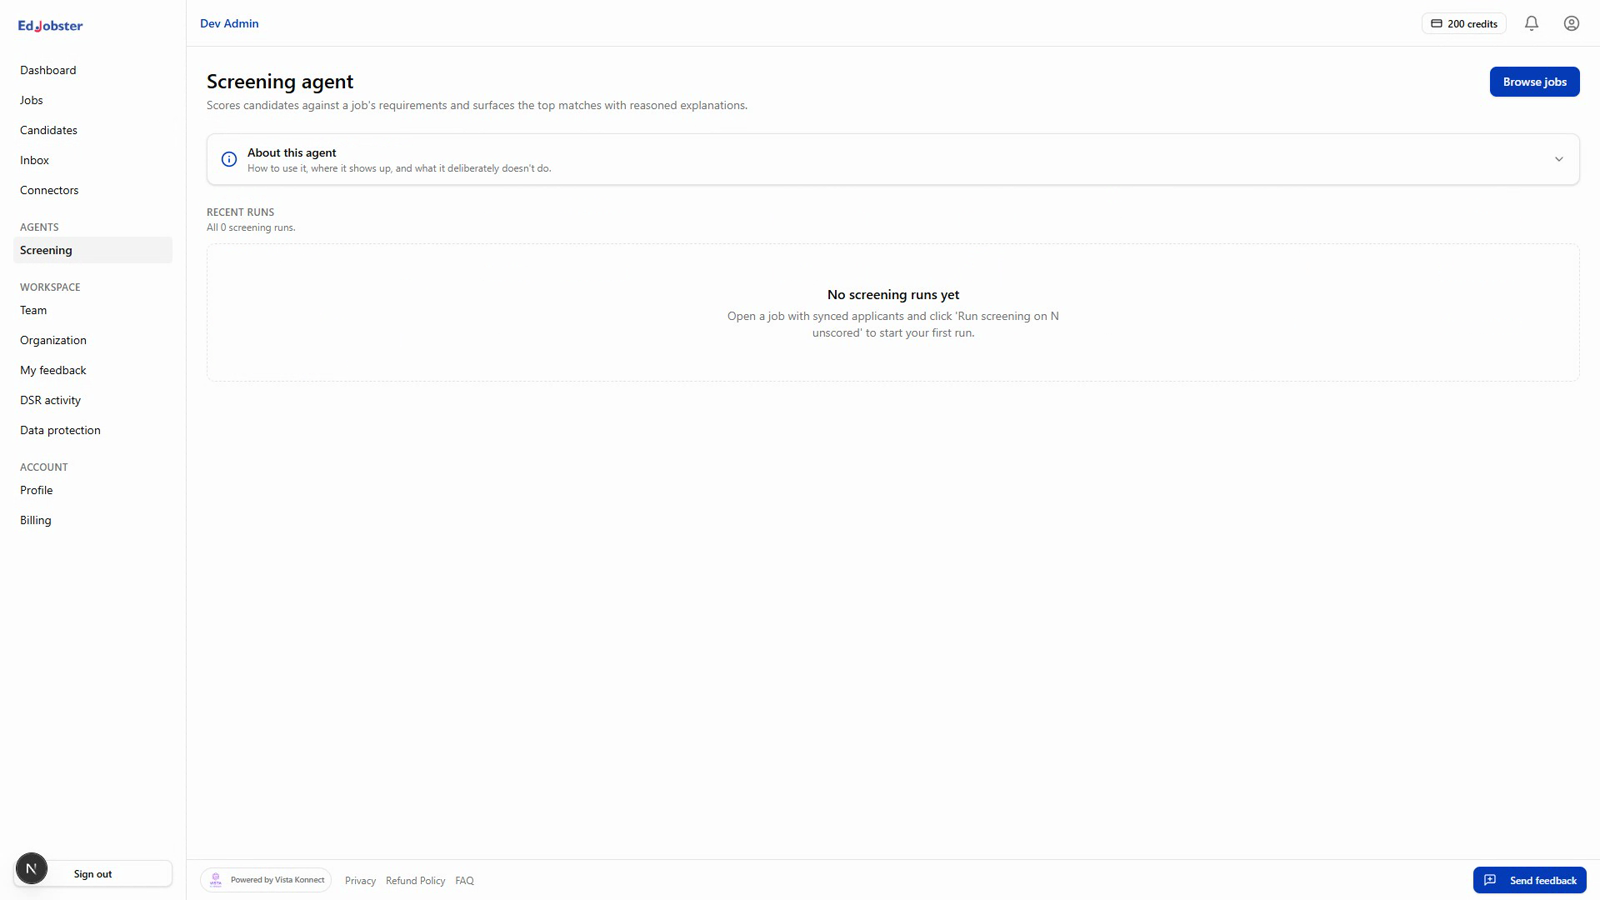
5
Screening
Run screening on a job's applicants and review the results — bands, criteria breakdown, and written reasons.
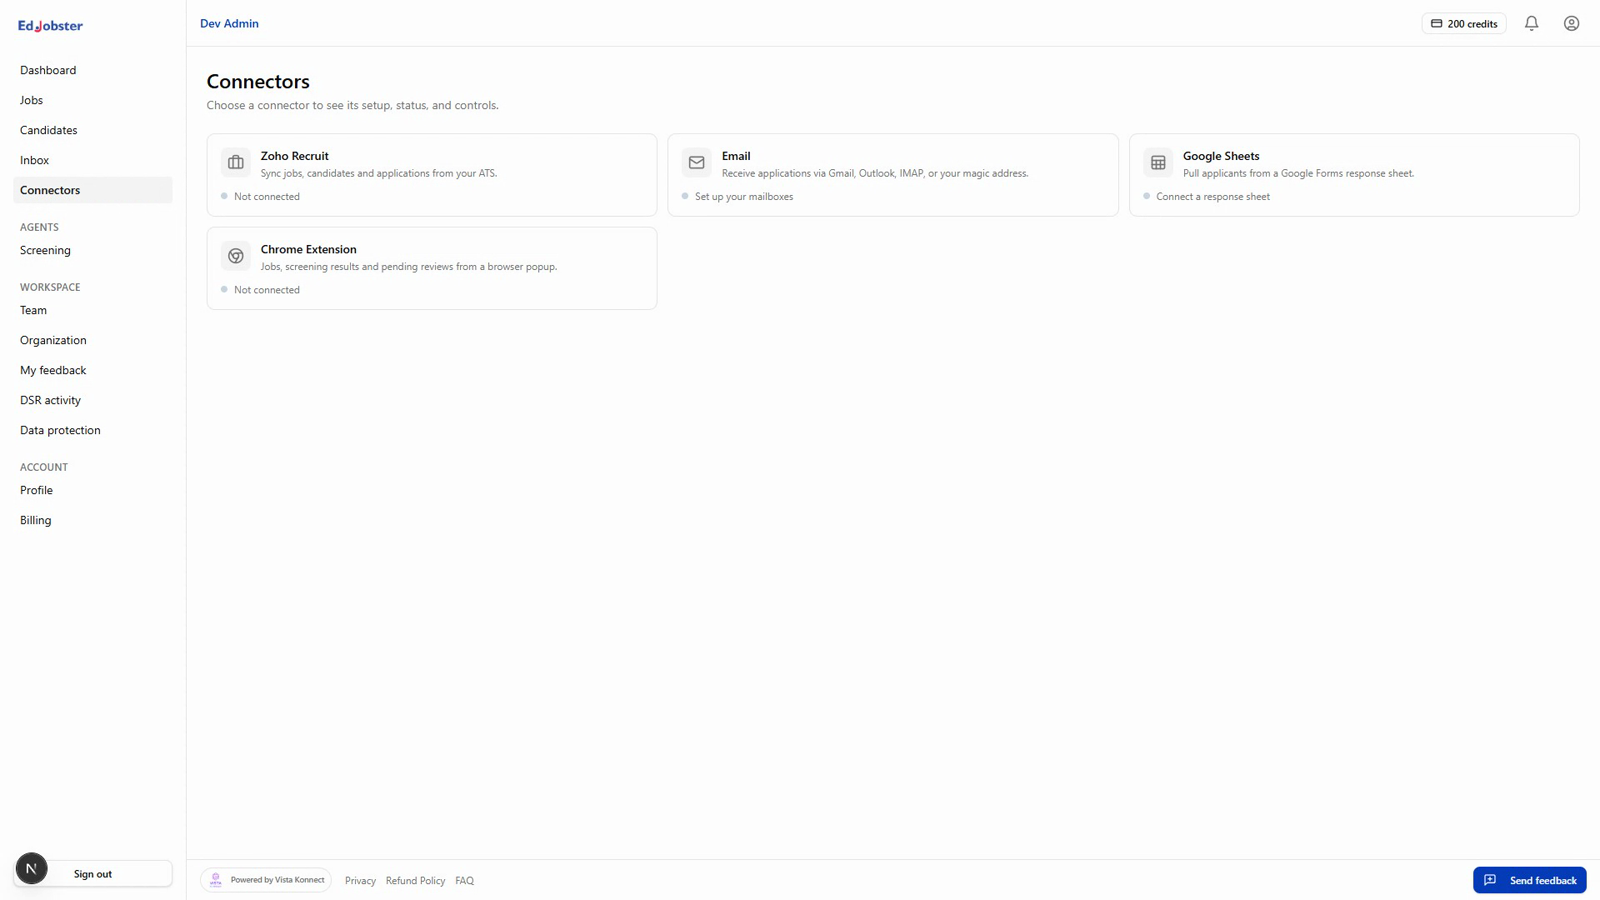
6
Connectors
Connect your ATS, your inbox, a Google Sheet, or the Chrome extension. See the connector guides for each one.
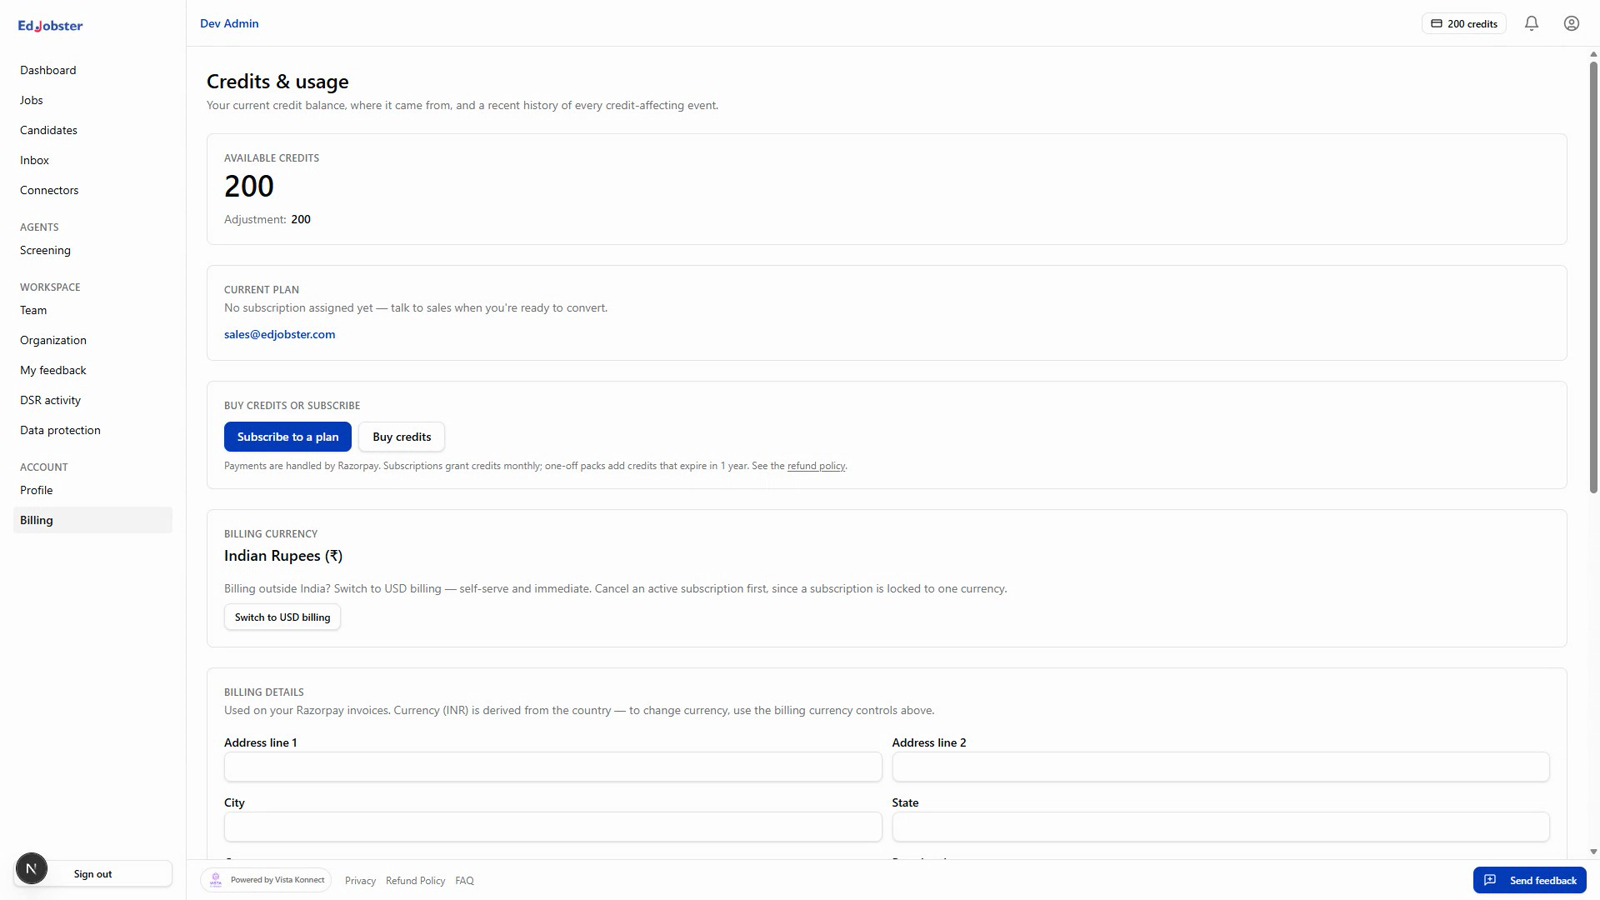
7
Billing & usage
Your plan, credits remaining, top-ups, and invoices all live here.
Verify it worked
You know where each area lives — jobs and their criteria, the candidates pulled in by your connectors, where to run screening, and where to manage connectors and billing.
Troubleshooting
Some menu items aren't showing.
Menus are gated by your plan and role. The Zoho ATS connector and some team features appear only on the plans and roles that include them — ask your workspace owner if you expect to see one that's missing.